


This article will guide you on how to set up a Linksys Intelligent Mesh™ network using the web interface.
Supported routers: Linksys WHW03, MX5300, MX4200, MX8500, MX5500, MX2000, MR8300, MR9000, MR6350, MR7350, MR9600, MR7500, MR5500, and MR2000.
Before you begin:
- You will need a computer.
- Parent router - It is the Linksys node that will be connected to your modem.
- Child node - It is an additional Linksys Velop Intelligent Mesh node that will be used to extend your WiFi network.
- Write down the default WiFi name, password, and recovery key of the parent router.
Images may vary by model.
1. Gather all your Linksys nodes and power adapters in the same room as your modem for setup.
2. Remove any existing router.
A. I have a separate modem and router.
-
-
- Disconnect the existing router.
- Power cycle your modem.
- Wait until your modem has rebooted and go to the next step.
-
B. I have a modem and WiFi router in one device, or I have no router.
-
-
- Go to the next step.
-
3. Connect the modem with an ethernet cable to the Internet port on the Linksys router that will become the parent router and power it ON. Power ON the router and wait until the light is solid purple.

NOTES:
- Some nodes, such as the Linksys WHW03, can be set up by connecting any ethernet port on the node to the modem. Once the node is set up, the port used will become a fixed Internet (WAN) port.
- If the router has a red light, hold the reset button for about 20 seconds. Wait until the light becomes solid purple.
4. If you are adding any child nodes, power them ON near the parent router, no more than 10 ft away from the parent router; the closer, the better during setup.
5. Connect your computer to the default WiFi name of the parent router. The WiFi credentials are located at the bottom of the parent router.
NOTE: You can also connect to the router via an ethernet port.
6. Open a web browser and enter "https://192.168.1.1" or "myrouter.local" in the Address bar, then press [Enter].
If you receive a browser message as shown below, follow these instructions to bypass this message.

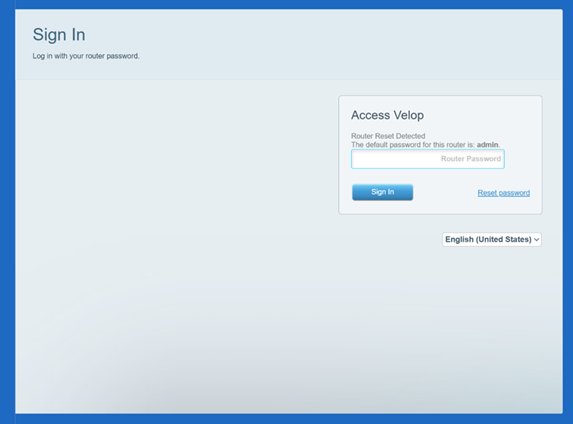
7. Enter “admin”, which is the default router password. You will then land on the router’s dashboard.
8. Click Connectivity, then click on the CA Router Setup tab.


9. Create a WiFi name (SSID) and WiFi password, and click on Setup Node. The WiFi password is case-sensitive. Make sure to write down your new WiFi name and password.

Leave this page open; you will lose your WiFi connection while the settings are being saved. Once you reconnect to WiFi, the setup will resume.
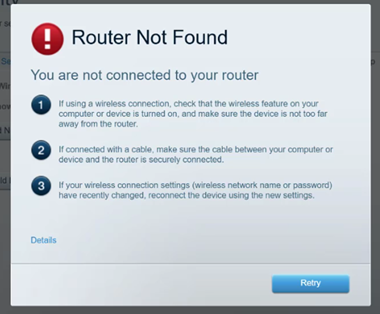
10. The light on the router will start to flash; wait until the light turns solid blue.

Solid blue - Online
Light did not turn solid blue?
If the light turns red, this indicates that an internet connection was not found. Try the following:
- Power cycle your modem and router. Wait for the modem to get back online. Then wait about 2 to 3 minutes to check if the light turns solid blue.
- If you use a PPPoE connection or another type that requires manual settings, you will need to configure your internet settings first. Reconnect to your router and click on Connectivity > Internet Settings tab. Click Edit and choose PPPoE or another type, enter the required Internet settings, then click Apply > Ok. Wait about 2 minutes for the light to turn solid blue.
- Contact your internet service provider (ISP).
11. Once you see your new WiFi name, connect to it to resume setup.

12. Once you reconnect to the new WiFi name, you will now see the Your Master Node is now Configured message. Click Ok.

13. Refresh the page to see your WiFi name. The Network Status tile on the dashboard will also display your connection status.

14. Once your router is online, if you have additional child nodes to add, make sure your child nodes have a solid purple light.
If you do not have any other child nodes to add, you can now connect devices to the WiFi network.

Child node - Solid purple; ready for setup
15. In the Connectivity > CA Router Setup tab, click on Add Wireless Child Nodes.

16. The router will begin to scan for unconfigured nodes. When a child node has been detected, it will begin to flash. Wait until the child nodes have a solid blue light.

17. Make sure to click on Done Adding Child Nodes, then click Apply > Ok.

18. Your network is now ready to use. You can now move your child nodes and connect your devices to the WiFi network.

