


The Linksys Smart WiFi Router's embedded Smart Setup Wizard facilitates installation via a web browser, even without an internet connection or with default settings. This guide covers the process for all Linksys Smart WiFi models.
Before you begin:
- A web browser on a computer or mobile device is required for setup.
NOTE: Setup via the Linksys app is no longer supported. - You must complete the setup wizard to connect the router to the internet.
- Write down the default WiFi credentials located on the bottom label.
Begin the Smart Setup Wizard
1. Disconnect your old router from the modem, then restart the modem.
2. Connect your modem to the Internet port on the new Linksys router, then power the router ON.
3. Wait until the LED on top of the router turns solid.
NOTE: The router will fully come online once you begin the setup wizard.
4. Connect a computer or mobile device to the router's default WiFi network using the credentials located on the bottom label. Alternatively, you can connect a computer via an Ethernet cable to any LAN port on the back.
5. Open a web browser and navigate to 192.168.1.1 or myrouter.local.
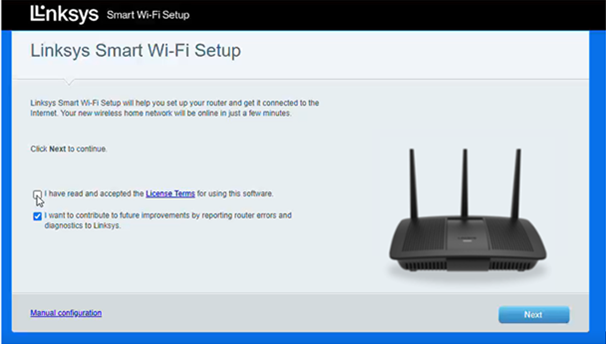
6. Check the agreement box and click Next.
Advanced users: To bypass the setup wizard, click on the Manual configuration link at the bottom.
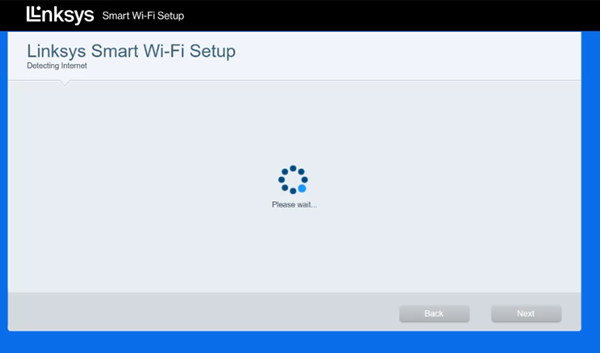
7. The router will automatically detect your internet connection. Once detected, click Next.
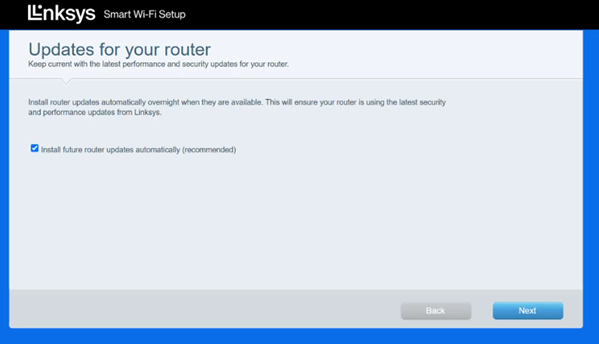
8. Customize your WiFi name (SSID) and password, then click Next.
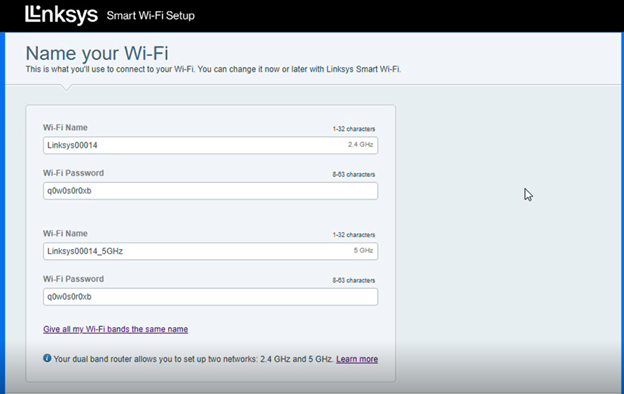
NOTE: To give both the 2.4 GHz and 5 GHz bands the same WiFi name, click the link Give my Wi-Fi bands different names.
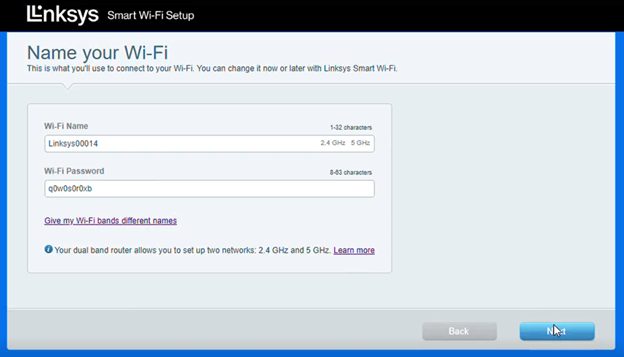
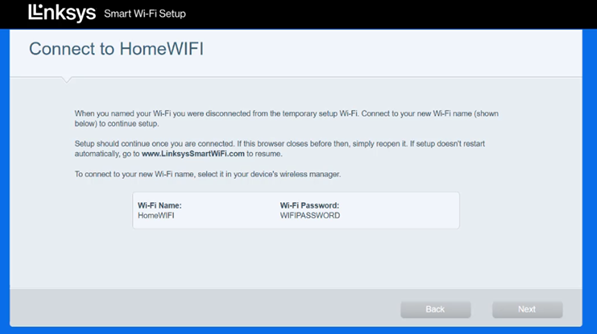
9. Reconnect your computer or mobile device to your new WiFi network when prompted to continue the setup.
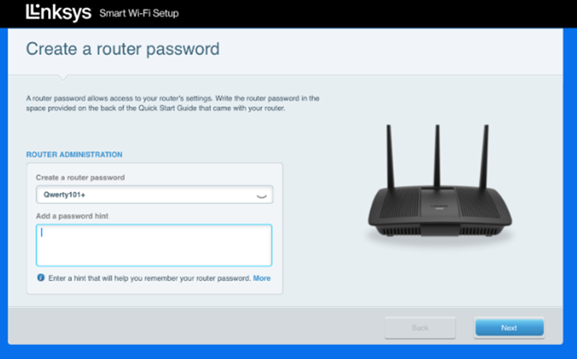
10. Create a router admin password and add a password hint, then click Next.
11. Write down your new WiFi and router admin information for future reference, then click Next.
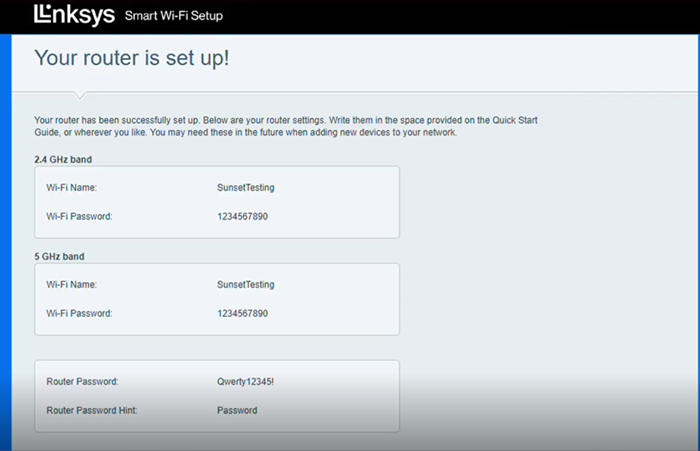
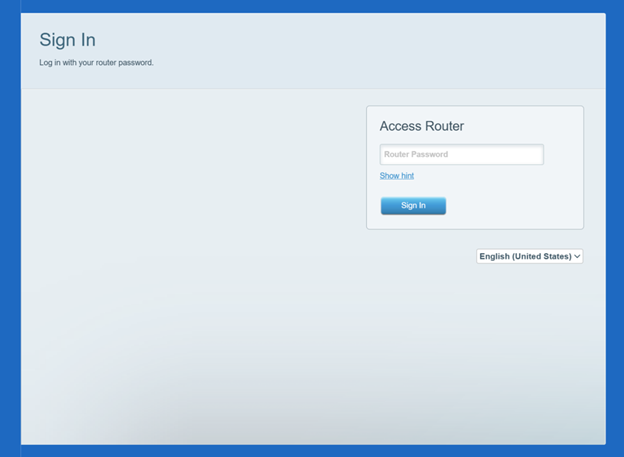
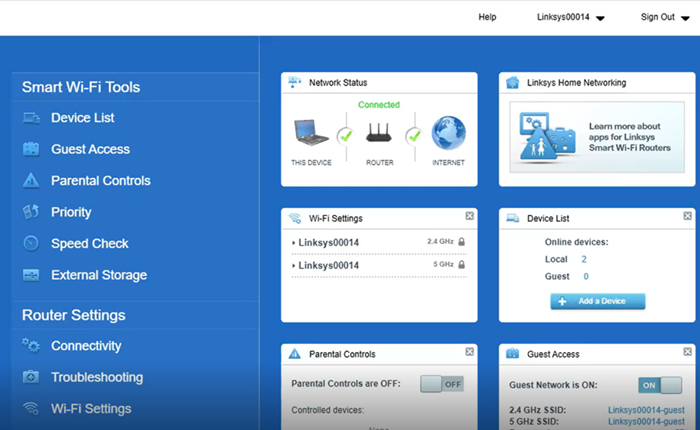
12. Enter the new router password you just created to access the router dashboard.
Find out more:
How to turn OFF my router’s or gateway’s WiFi

