By using DHCP Reservations, you can assign a consistent IP address to specific devices. This prevents conflicts and ensures reliable network performance.
DHCP Reservations in the LinksysNOW web interface can be configured through the Instant-Devices tile or the Advanced Settings tile. This article covers the Advanced Settings method.
To configure settings on this tile, follow these steps:
1. Log in to the router's web interface.
2. Click on the Menu tab.

3. Click on Advanced Settings.

4. Click on Local Network.

5. Click on the DHCP Server tab and toggle the button to enable it.

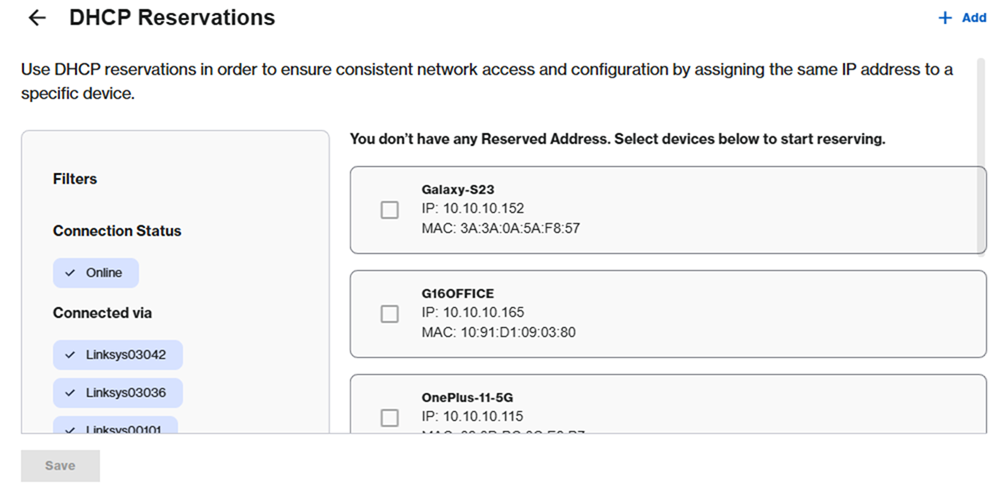
6. Scroll down and click on DHCP Reservations.

7. Click the check box to create a reservation for the client. Click Save to apply changes.
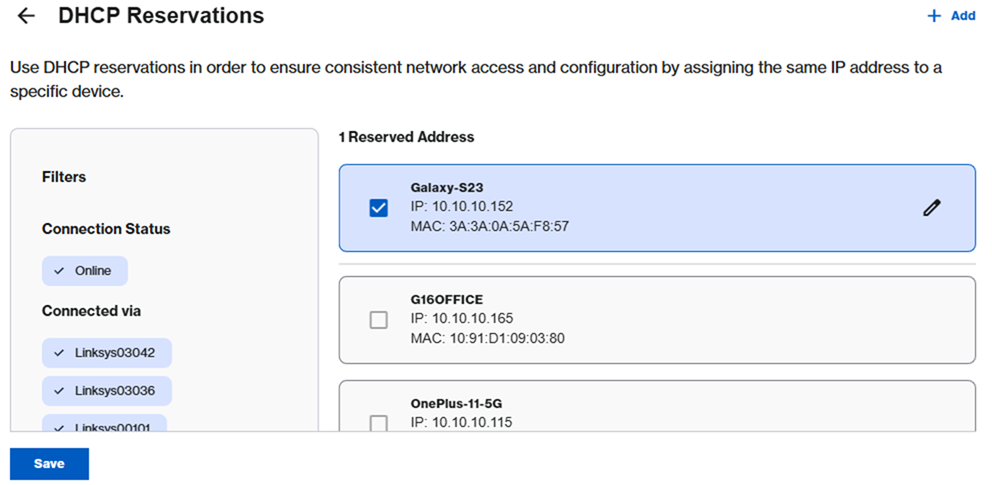
8. After the settings are saved, the reserved client moves to the top of the list. To remove a reservation, simply uncheck its box and click Save.
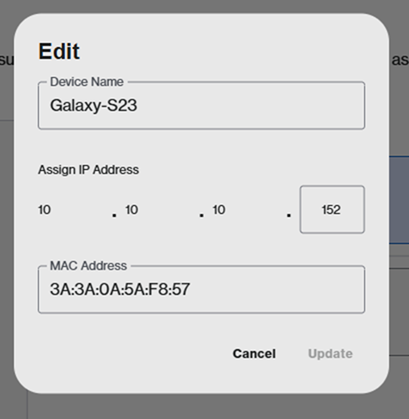
To customize the IP address, click on the pencil icon, enter a new IP address, and then click Update.
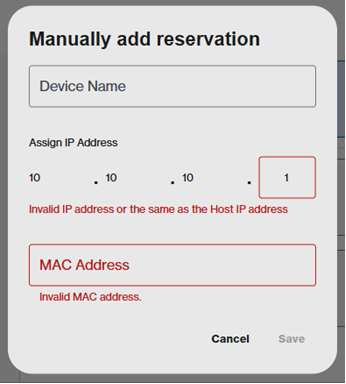
To manually add a client, click on the ![]() button, then enter the device name, IP address, and MAC address in the format xx:xx:xx:xx:xx:xx. Finally, click Save.
button, then enter the device name, IP address, and MAC address in the format xx:xx:xx:xx:xx:xx. Finally, click Save.