The Incredible-WiFi section provides easy access to essential network customization options. You can update your WiFi name and password, modify advanced settings, set up a Guest network, and fine-tune additional configurations to suit your needs.
Before you begin:
- If your model supports the Quick Setup option, you can use this option to rename all your radios using the same WiFi name, password, and security, except the Guest network.
- Under the Incredible-WiFi section, there are three sub-categories, and these are WiFi, Advanced, and MAC Filtering.
- Supported models:
- SPNM60, SPNM62
- LN1600 series
Images vary by model.
How to access the WiFi settings
How to configure the WiFi settings (WiFi tab)
Configuring the Guest network
How to access Advanced WiFi settings
How to configure MAC Filtering settings
How to access the WiFi settings
1. Log in to the router's web interface.
2. Click on the Menu tab.

3. Click on the Incredible-WiFi tile.
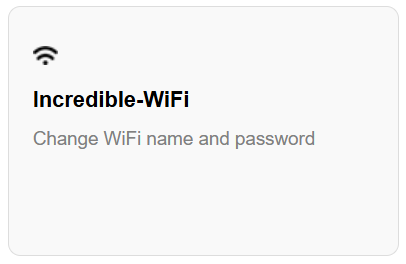
You have now landed on the Incredible-WiFi settings page.
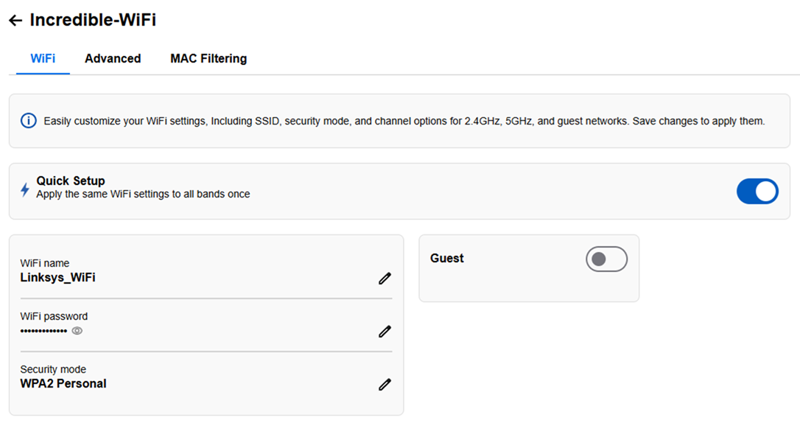
How to configure the WiFi settings (WiFi tab)
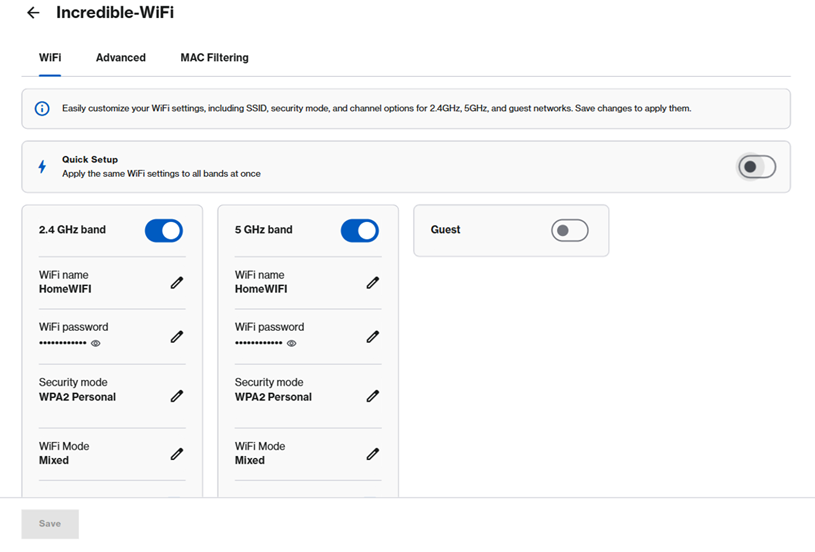
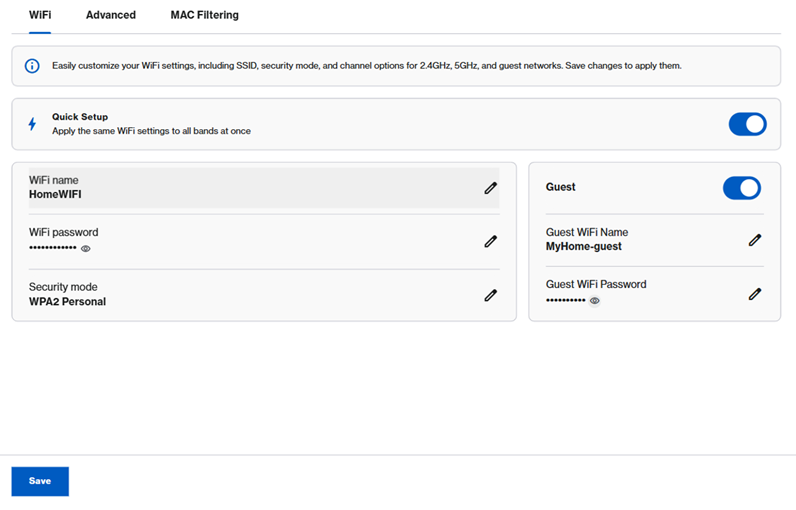
The Linksys SPNM60 and SPNM62 models feature a Quick Setup mode that is enabled by default. This allows you to simultaneously update the Wi-Fi name and security settings across all radios, excluding the Guest network.
Quick Setup - Enabled
1. Click on the edit  icon. Change the desired settings, then click Save.
2. For advanced users, turn off Quick Setup. Customize your settings and click Save.
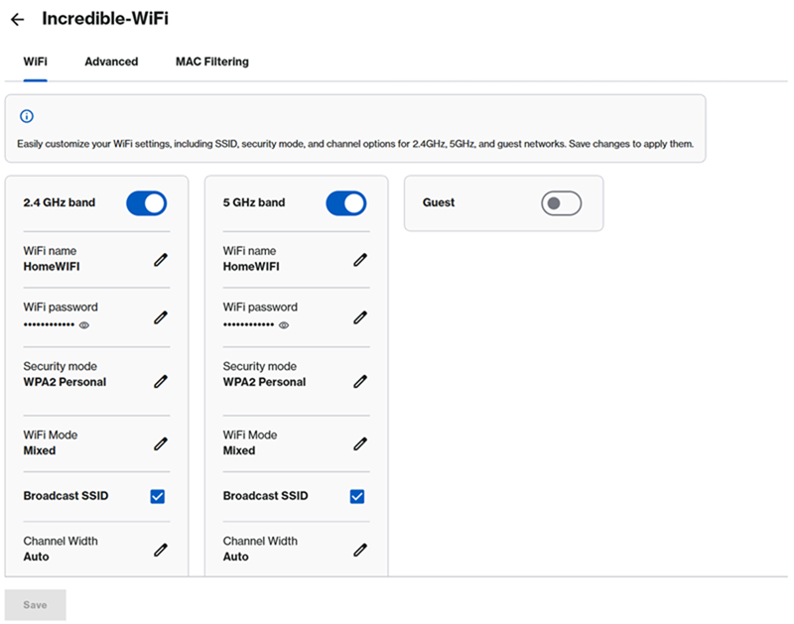
Quick Setup - Disabled
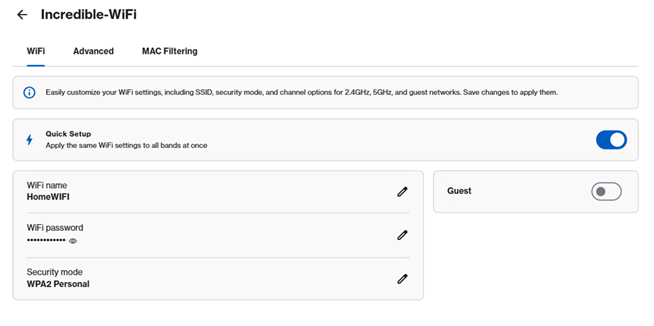
For Linksys LN1600 series:
Quick Setup is not supported; you can just customize your settings and click Save.
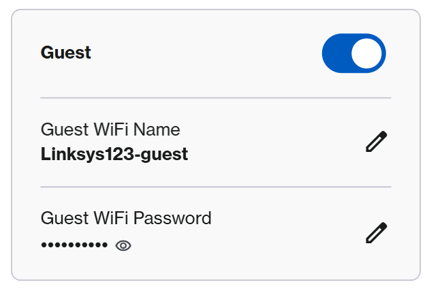
The Guest network is disabled by default. You can share your internet with your guests without giving away your main WiFi credentials and prevent guest clients from accessing your home network.
1. Turn ON the Guest network.
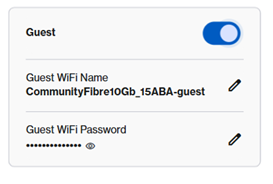
2. To use the default Guest settings, write down the credentials or use the QR code from the Home page. If you want to customize the settings, make sure to give it a different name from your main WiFi. Click on the ![]() icon to make your changes, then click Save.
icon to make your changes, then click Save.
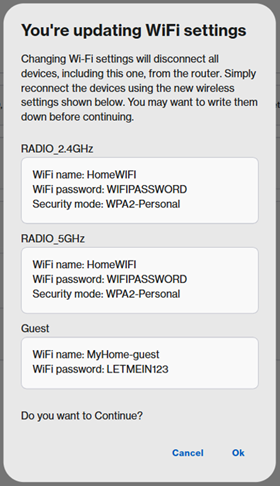
3. Click Ok. You will temporarily lose WiFi connectivity until the settings are saved.
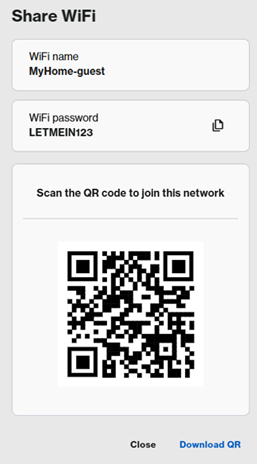
4. Now go to the Home page, click on the ![]() icon.
icon.
5. Save the Guest network WiFi credentials by writing them down, copying to the clipboard ![]() , or having your guests scan the QR code, or downloading and printing the QR code.
, or having your guests scan the QR code, or downloading and printing the QR code.
How to access Advanced WiFi settings
In this section, you can configure other advanced WiFi settings.

Learn how to enable MLO.
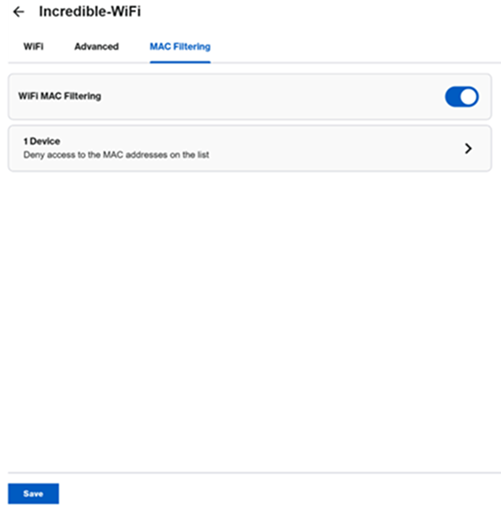
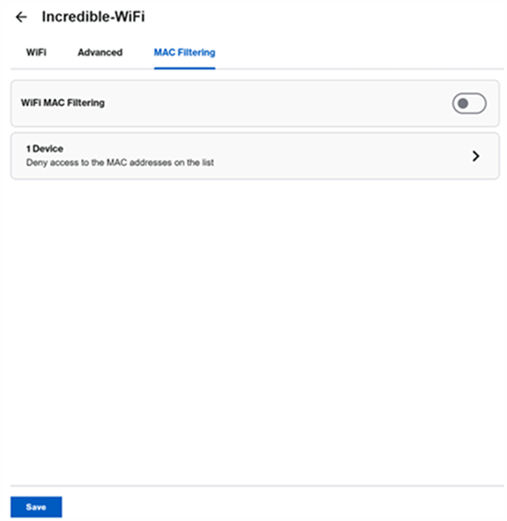
How to configure MAC Filtering settings
MAC Filtering is used to deny access to specific devices on the WiFi network. It is recommended to verify the MAC address of your device to confirm the setting.
If the client device has a Private WiFi address or Random MAC enabled, which changes its MAC address at various times, the device will not follow the Deny rule, and the device will be allowed on the network due to the device using a different MAC address.
To check or change this setting on your device, click here for iOS devices or click here for Android™ devices.
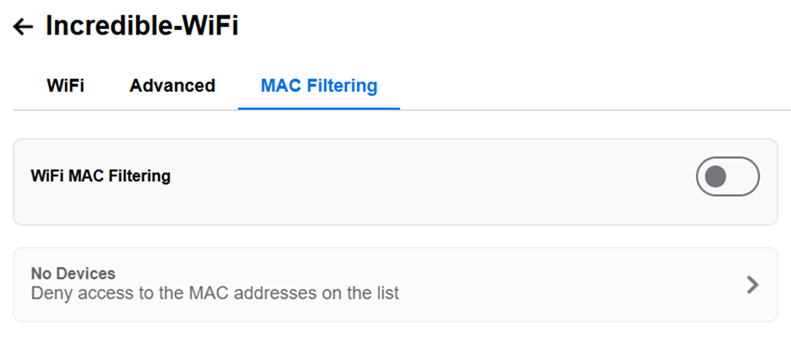
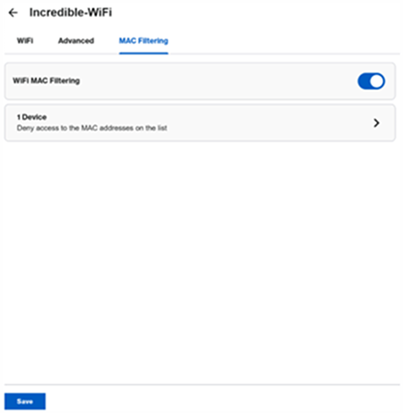
How to enable MAC Filtering
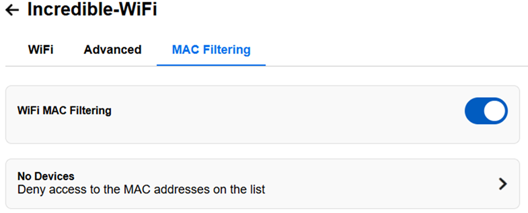
1. Toggle to enable WiFi MAC Filtering.
2. Click on the arrow icon on the second row.
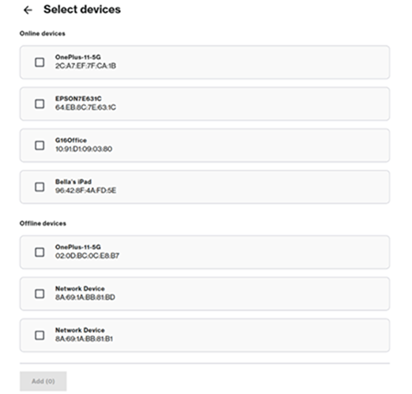
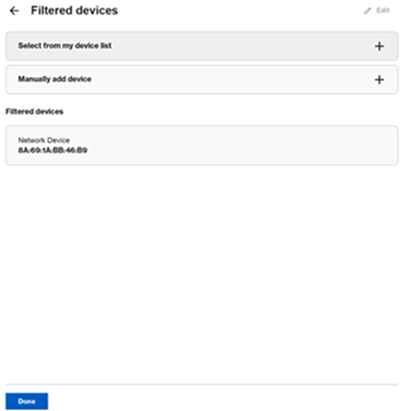
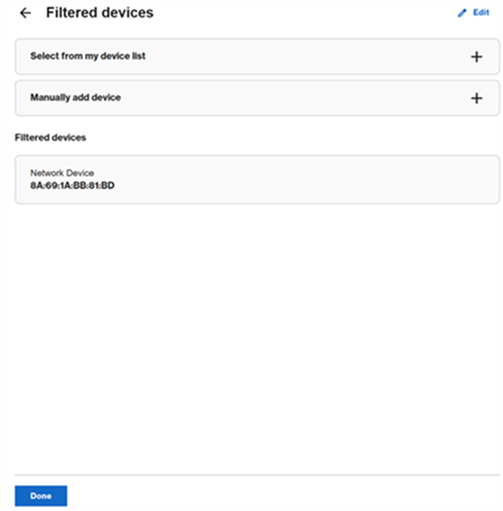
3. Select either of the two options:

- ◾Select from my device list - Select a device and click Add.
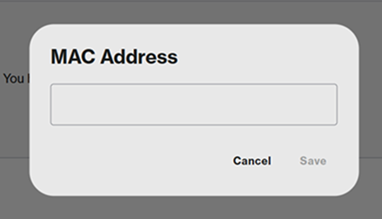
- ◾Manually add device - Enter the MAC address of a device in this format xx:xx:xx:xx:xx and click Save.
4. Click Done.
5. Click Save.
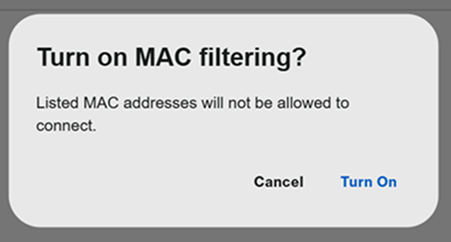
6. Click Turn On when prompted.
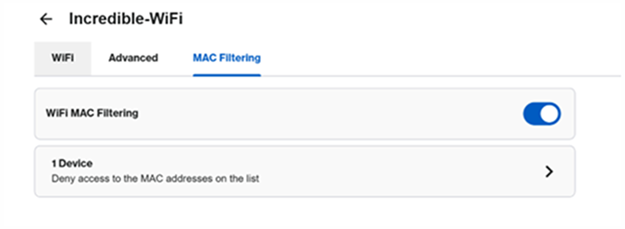
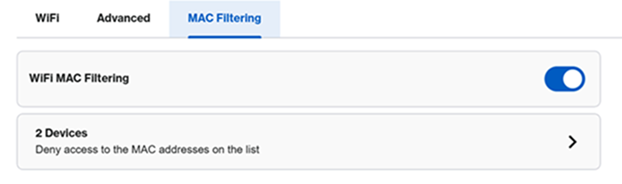
When MAC Filtering is enabled, you will see the following:
How to turn OFF MAC Filtering or to remove a device
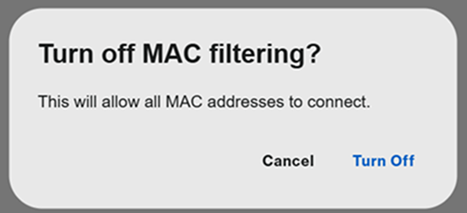
1. To turn it OFF, toggle the MAC Filtering to the OFF position and then click Save.
2. Click Turn Off when prompted.
3. To remove a device from MAC Filtering, click the Devices section.
4. Click Edit and select the device you want to remove from the list. Click Remove.
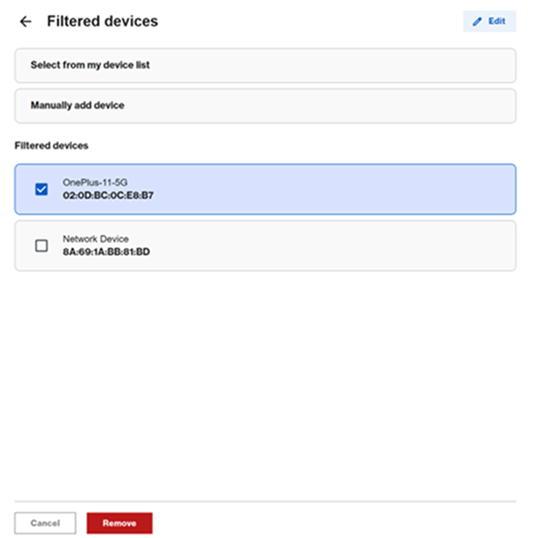
5. Click Done.
6. Click Save.