

Configuring wireless MAC Filter using your Linksys cloud account

The Media Access Control (MAC) address is a unique identifier assigned to each network adapter or Network Interface Card (NIC) of a computer or device. The MAC Filtering feature of your Linksys Smart WiFi Router allows or prevents access to the network using this unique identifier.
Before you begin:
Before you begin:
- Enabling MAC Filtering will disable Wi-Fi Protected Setup™ (WPS).
- To access your Linksys cloud account: Launch a web browser and enter your router’s IP address or "myrouter.local" in the Address bar, then press [Enter]. The default IP address is 192.168.1.1. If this has been changed, you will need to locate your router's current IP address. To access your account from outside your network (remote access), enter "https://www.linksyssmartwifi.com" in the Address bar instead.
- How to find a MAC Address: Navigate to the Linksys Smart WiFi Tools navigation menu > Device List or Network Map > click on your device name. It will display the details such as its name, manufacturer, model, IP, and MAC address. Devices with Offline status will not display these details.
Why do you need it?
MAC Filtering enhances your network security by working alongside your WiFi password to control device access. Follow this guide to configure the feature within the MAC Filtering tab of your Linksys cloud account.
MAC Filtering enhances your network security by working alongside your WiFi password to control device access. Follow this guide to configure the feature within the MAC Filtering tab of your Linksys cloud account.
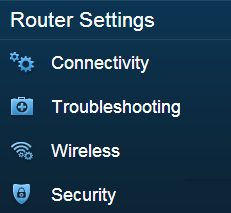
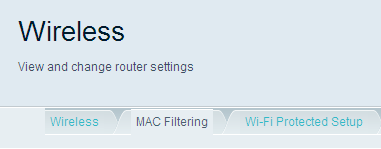
1. On the left navigation pane, click the Wireless tool under Router Settings.
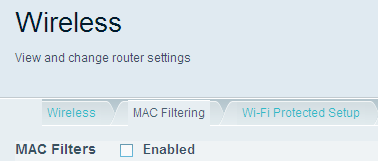
2. Click the MAC Filtering tab.
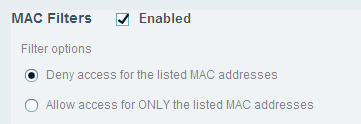
3. Check the Enabled box. To disable the feature later, simply uncheck this box.
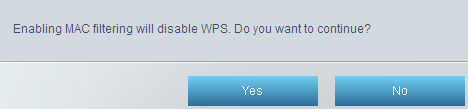
4. A pop-up that says, Enabling MAC filtering will disable WPS. Do you want to continue? will appear. Select Yes to proceed.
5. Choose one of the following filter options:
- Deny access for the listed MAC addresses – Use this to blacklist specific devices. Any listed MAC address will be blocked from the network.
- Allow access for ONLY the listed MAC addresses – Use this to whitelist specific devices. Only listed MAC addresses can connect; all others will be denied.
In the image below, the Deny access for the listed MAC addresses option is selected.
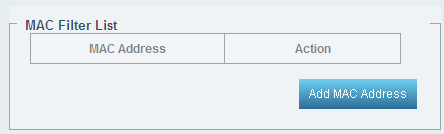
6. To specify a device, click Add MAC Address in the MAC Filter List section.
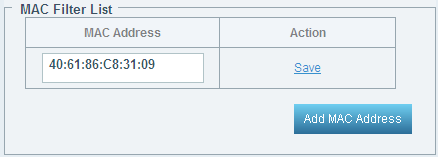
7. Enter the MAC Address of the device you wish to filter and click Save.
You can edit or delete entries in this list anytime.
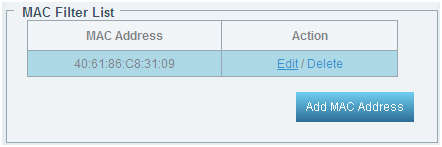
You can add up to 31 MAC addresses to your list. All MAC addresses in the list will follow the same restriction rule selected in Step 5.
8. Click Apply, then Ok to save the changes.
Find out more:
Setting up the WiFi MAC Filters feature using the Linksys app

