The Linksys RE7350 Max-Stream™ WiFi 6 Range Extender and Linksys RE7310 MAX-STREAM™ WiFi 6 Range Extender can easily extend your WiFi to hard-to-reach locations in your home. This article will show you the steps on how you can set up your Linksys range extender to Range Extender mode.
Before you start the setup process, make sure you have the following:
Before you start the setup process, make sure you have the following:
-
An active 2.4 GHz or 5 GHz WiFi connection
-
Your router's WiFi settings including the WiFi name and password/security key
-
A wireless computer, tablet, or smartphone for setup
1. Plug the Linksys range extender into a power outlet. Wait for the light to change to blinking orange.
2. Using a computer or mobile device, connect your device to the Linksys range extender’s default WiFi name, which is Linksys Extender Setup - xxx. You should be connected to this WiFi to start the setup process.
QUICK TIP: The xxx are the last three characters of the Linksys range extender’s MAC address. The MAC address of your device is located on the label at the back of the device.
3. In your computer or mobile device, open a browser and enter "https://extender.linksys.com" or "192.168.1.1" in the Address bar and press [Enter] to launch the setup.
4. Click Start Setup.
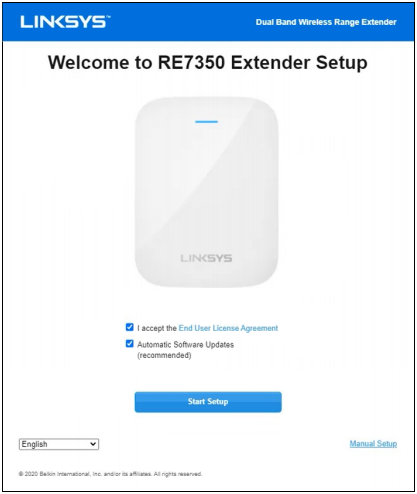
NOTE: To skip the setup wizard, click on Manual Setup. If you need to run the setup wizard again, reset the extender.
5. Select the As a wireless range extender option then click Next.
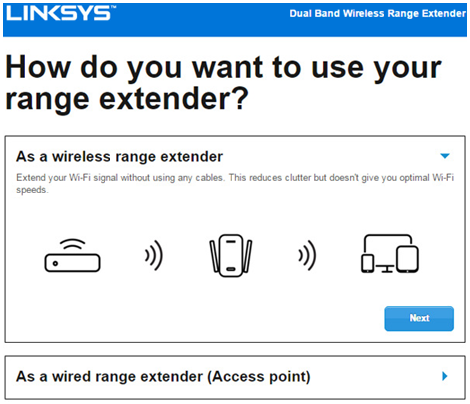
NOTE: If you are extending a dual-band network, wait until you see an entry with both of your WiFi names. Select it and click Next. If you only see one radio, click on the refresh button to see if both radios now appear on the same slot. Otherwise, continue with the setup and you may then be prompted to connect to the second radio. You can always configure your second network after setup in the Basic Settings section of the range extender’s web-based setup page.
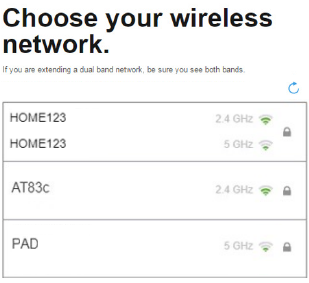
You may also opt for the following:

6. Enter your WiFi password when prompted.
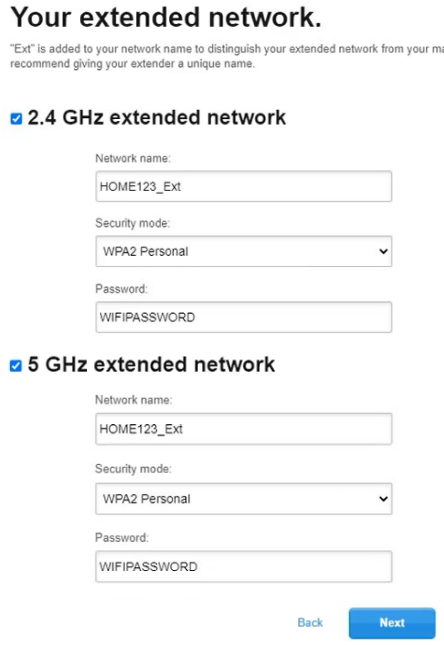
7. Review your extended wireless network settings and click Next.
NOTE: The _Ext is added to your extended network to differentiate your extended network from your main network. It is recommended that you either keep the _Ext or that your range extender has unique network names.
8. The Spot Finder page only appears on Range Extender mode. This feature determines the signal strength between your range extender and your router. If your range extender is too far, unplug and move it closer to your router. Then, reconnect to the range extender’s default WiFi name and access the web-based setup page.
If you get the following messages, you may click on Connect anyway to complete the setup. Keep in mind that you still have to move the range extender according to the Spot Finder’s results.
If you get the following messages, you may click on Connect anyway to complete the setup. Keep in mind that you still have to move the range extender according to the Spot Finder’s results.
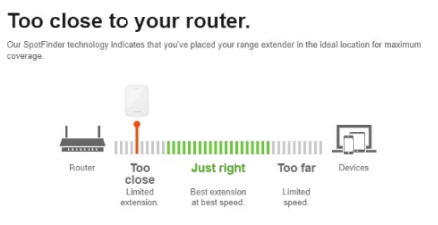
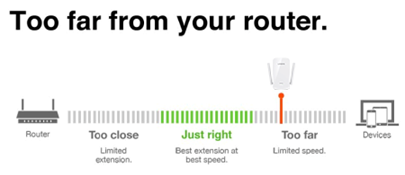
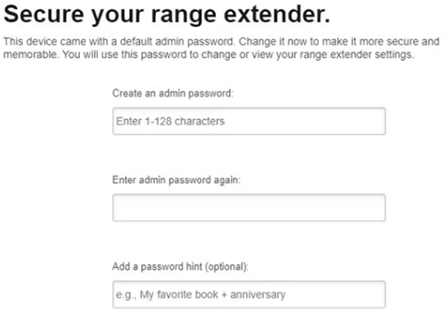
9. Create an admin password to access your range extender’s settings and click Next.
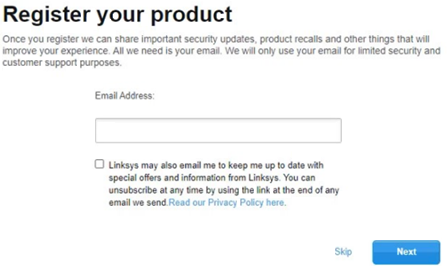
10. Register your product then click Next.
11. Your range extender is now set up. You can either print this page or close it. Once your range extender has a solid blue light, it means it is now connected to your network. To access the range extender settings, make sure to connect to its WiFi name and go to https://extender.linksys.com.
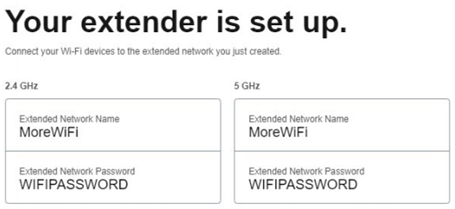
Your Linksys range extender is now set up in Range Extender mode. The top header will read Dual Band Wireless Range Extender.


