


NOTE: The Site Survey is ONLY available if your Linksys range extender is set up to work on Wireless Range Extender mode.
Follow the instructions below to learn how to use the Site Survey feature of your Linksys range extender.
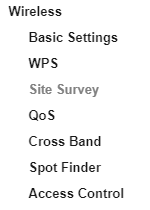
2. Under Wireless, click Site Survey.
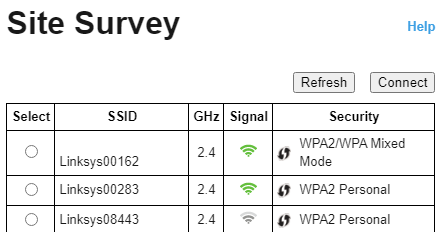
- Select - clicking the radio button beside the WiFi name selects the SSID.
- SSID - displays the name of available WiFi.
- GHz - indicates the radio band of available WiFi.
- Signal - displays the relative position of the available networks within range by indicating the power of the wireless signal received.
- Security - displays the security type used by available networks. If a network supports Wi-Fi Protected Setup™ (WPS), the WPS
 icon is also displayed.
 - Refresh - clicking the button refreshes the list of available WiFi.
- Connect - clicking this button lets you connect to the selected SSID.
3. To associate the range extender to your access point or router, click the radio button that corresponds to your WiFi name then click Connect.

4. Enter your WiFi password in the Passphrase field then click Connect.
NOTE: The type of security information required in this screen should match your access point or router’s wireless security settings. The WiFi password is also case-sensitive.

Wait for the process to be completed.

You should now have successfully configured your Linksys range extender with your WiFi. You can proceed with connecting wireless computers and devices to get internet access.
QUICK TIP: To know if your Linksys range extender is connected to the network, go to Status > WLAN Statistics.

The Network Name (SSID) should display your router’s WiFi name.

QUICK TIP: If you encounter any issues, a firmware upgrade may resolve them. You can download the latest firmware of your Linksys range extender to ensure that you are using an updated version. Search your model number from the Linksys Support Site and download the file.

