This article will describe the Night mode feature.
Supported models:
- SPNM60
- SPNM62
- LN1600 series
The Night mode feature automatically turns off the LED on all supported Linksys Mesh nodes on your network between 8 AM and 8 PM. By default, this feature is turned OFF.
Enabling the Night Mode feature through the web interface
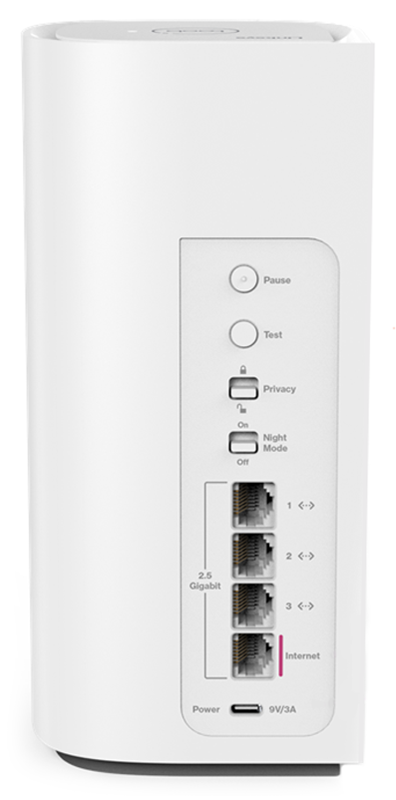
Enabling the Night Mode feature using the external switch
Enabling the Night Mode feature through the web interface
1. Log in to the router’s web interface.
2. On the Home page, make sure the time is current on the upper right-hand side. If you need to change it, click on it.
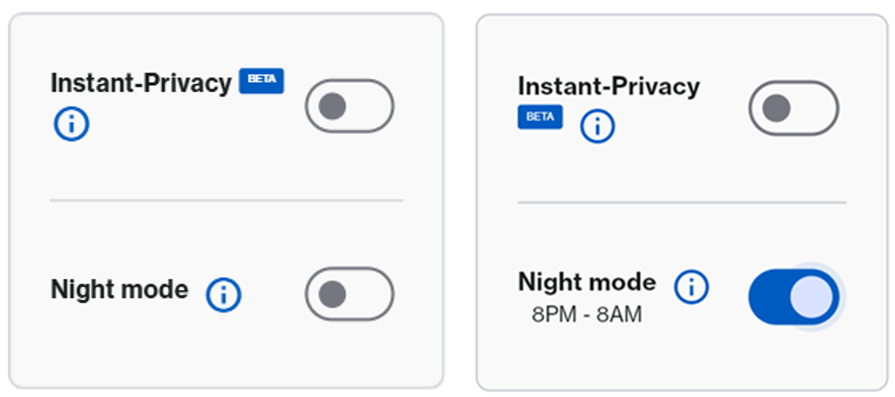
3. Scroll to the bottom of the Home page and toggle the Night mode switch to the ON position. You have now enabled the Night mode feature; the light will automatically turn OFF after 8 PM.
4. For more options, go to Menu > Instant-Topology. Then click on the first tile, which is the parent router.
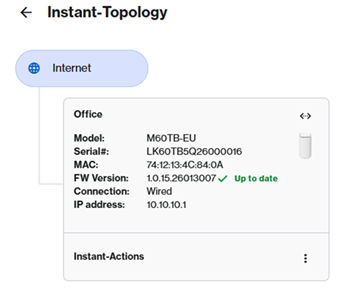
5. You will see a Node light option at the bottom of your parent router; click on it.
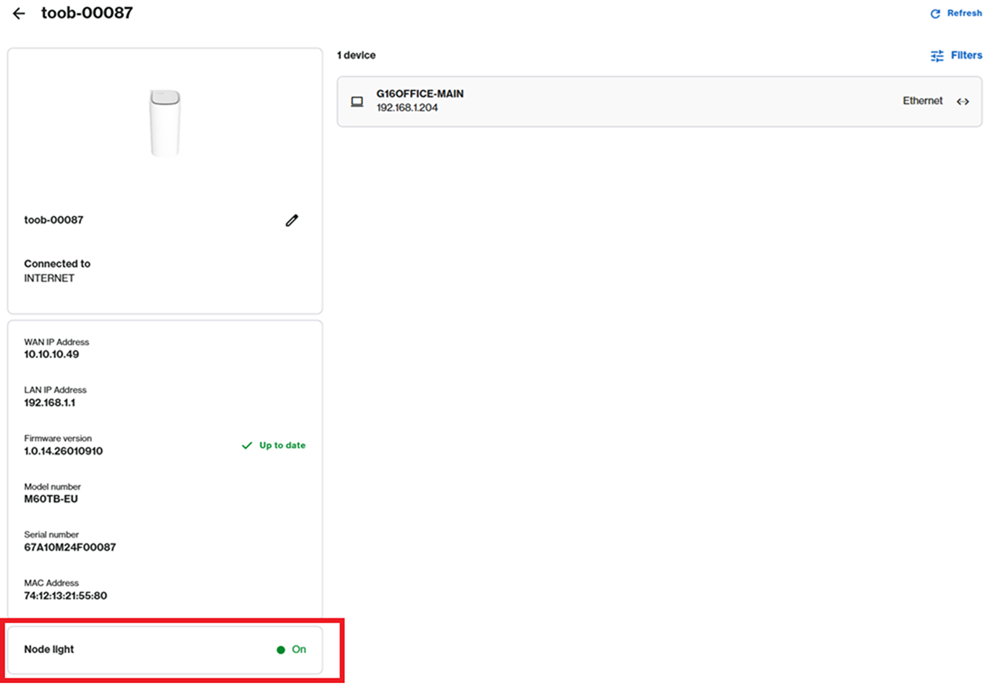
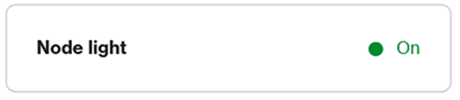
On: Node lights remain ON at all times. This is the default setting.
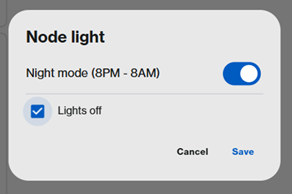
8PM – 8AM: Lights on all supported nodes in the network will automatically turn off during this timeframe.

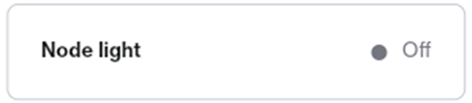
Off: Node lights are always OFF. To use this option, click on Node light to enable the feature, then check the Lights off checkbox and click Save.
Enabling the Night Mode feature using the external switch
The Linksys SPNM60TB for toob ISP subscribers supports an external Night Mode switch, including the web interface feature. You can use the toggle switch to turn the feature On or Off only. To turn off the lights 24/7, use the setting in the web interface as previously instructed.
To check the true status of the current setting, you can always check in the web interface of the Home page under Night Mode.