There are two methods to set up your Linksys Velop Intelligent mesh router.
The 5-Button Push method is another quick and easy method to set up the parent router. To set up the router using the web interface, click here.
Supported models: WHW0x series, MXxxx series, MRxxx series
- Requires a desktop computer.
- Must have a DHCP (Automatic) Internet connection type.
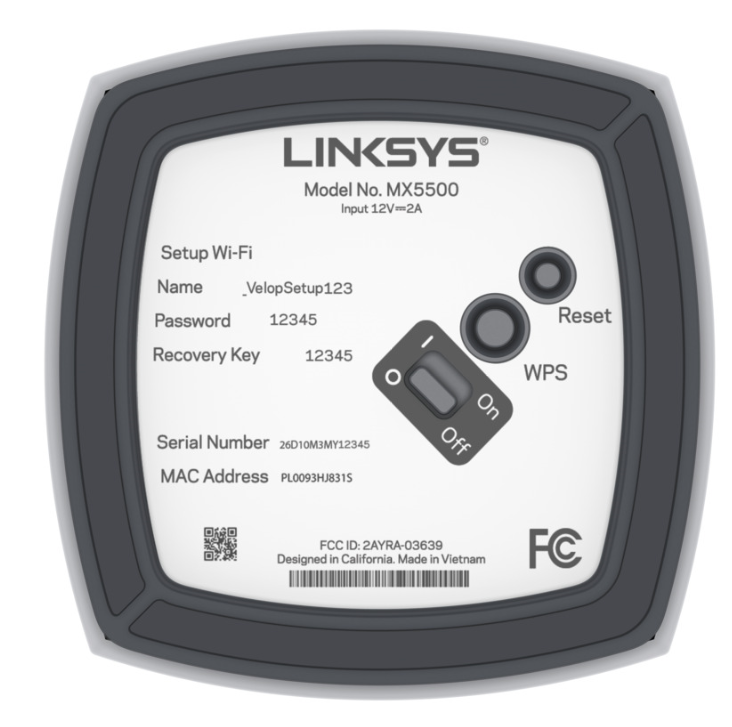
- Write down the default Wi-Fi name and password, and key located on the bottom of the parent node.
- Parent router - The Linksys Velop Mesh node that will be connected to your modem.
1. Gather all your equipment in the same area as your modem.
2. Remove any existing router.
a. I have a modem with a separate router.
- Disconnect your existing router.
- Power cycle your modem.
- Wait until your modem has rebooted and go to the next step.
b. I have a WiFi router and modem combined in one device, or I do not have any existing routers in my home.
- Go to the next step.
3. Connect the parent router with an Ethernet cable from the Internet port to your modem and power it ON. Wait until the light on the router is solid purple.
Solid purple - Ready for setup
4. Read this step carefully before proceeding.
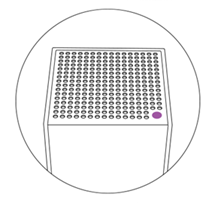
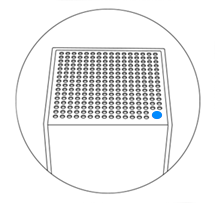
Press the Reset button five times within 5 seconds (DO NOT HOLD).
5. The light on the router will begin flashing; wait until the light turns solid blue. This will take a few minutes.
Solid blue - Online and ready to use
6. Connect your computer to the default WiFi credentials located on the bottom of the router.
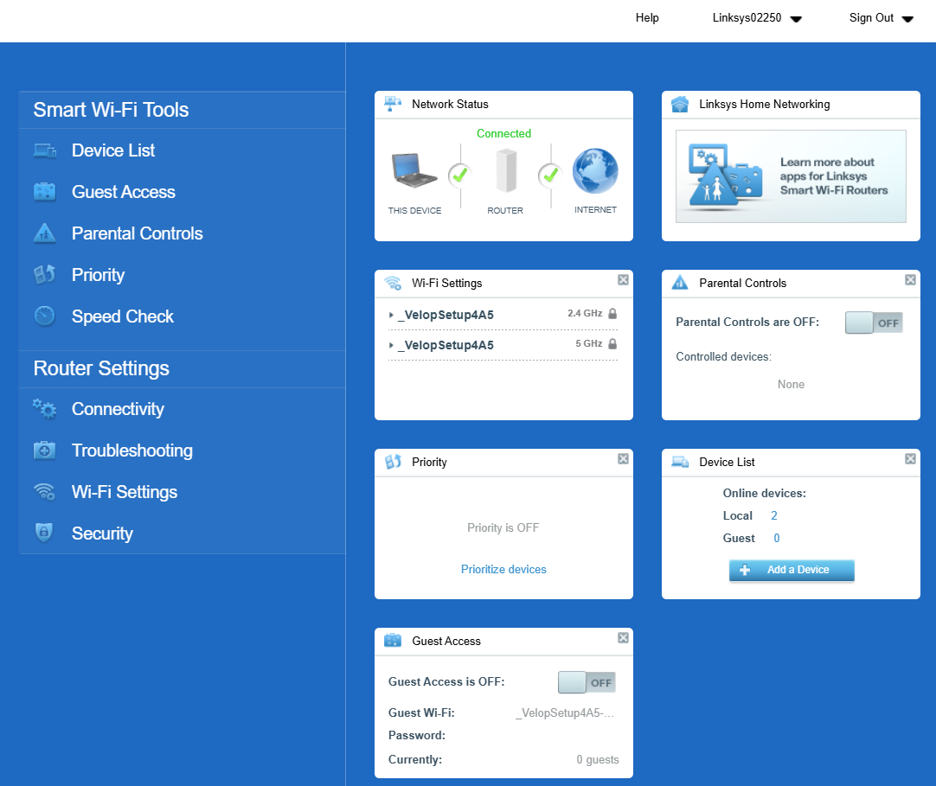
7. Log into the router’s web interface.
8. You will land on the router’s dashboard. You can now configure some of the basic settings:
a. Change the router’s (Admin) password in the Connectivity widget.
b. Customize the router’s WiFi name and password in the Wi-Fi Settings widget.
c. Add child nodes.
Once you are done customizing your settings, you can now connect your wireless clients to your Linksys WiFi.