In some setup scenarios, if the light isn’t turning solid white and/or you need to manually set up the router. Follow these steps.
Models: SPNM60, SPNM62
Before you begin :
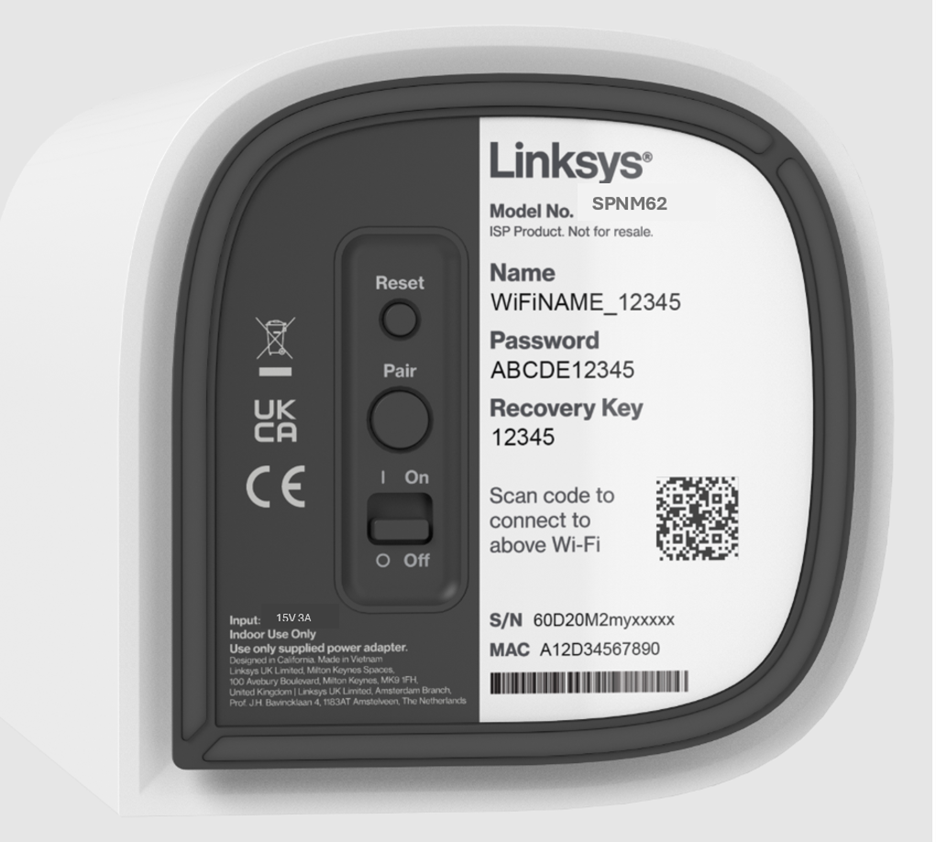
- Write down the default WiFi name and password located on the bottom of the Linksys router.
- Parent router - The parent router is the Linksys Mesh router that will be connected to your modem.
- Child node - An additional Linksys Mesh node to extend your WIFI network.
1. Gather all your equipment in the same area as your modem.
2. Power cycle your modem.
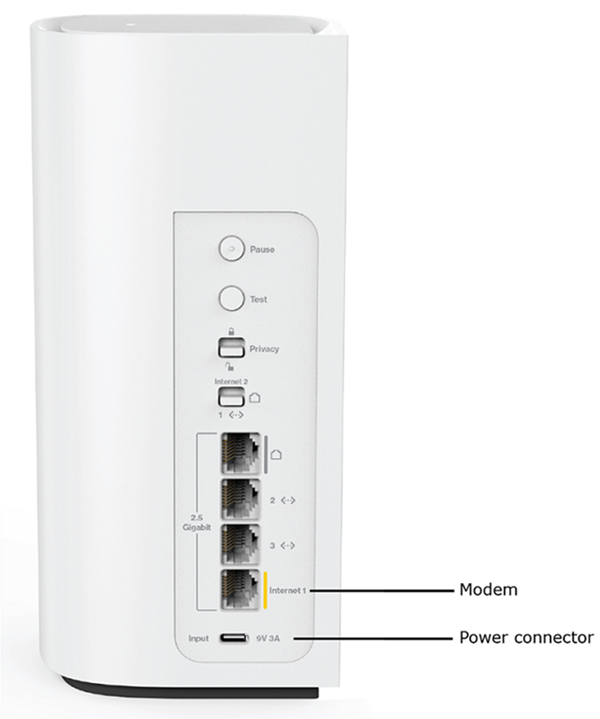
3. Connect the parent router with an Ethernet cable from the Internet 1 port to your internet source.
4. Use the supplied power adapter and power on the router.
5. Make sure the router has a solid blue light, which indicates it is ready for setup.

Ready for setup
If it has a red light, hold down the reset button for about 15 seconds and wait for it to become solid blue before continuing.
6. Connect a computer or mobile device to the Linksys default WiFi. The WiFi credentials are located on the bottom of the Linksys parent router. You can also scan the QR code to connect with a mobile device.
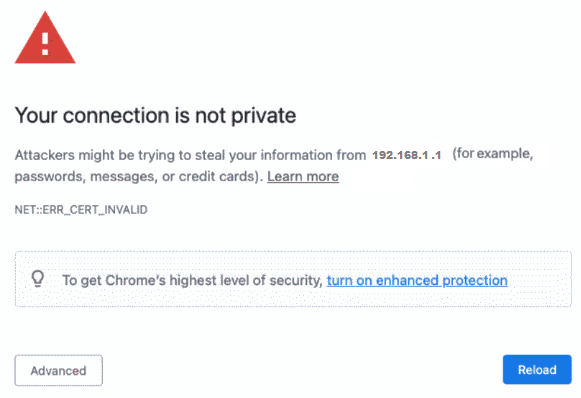
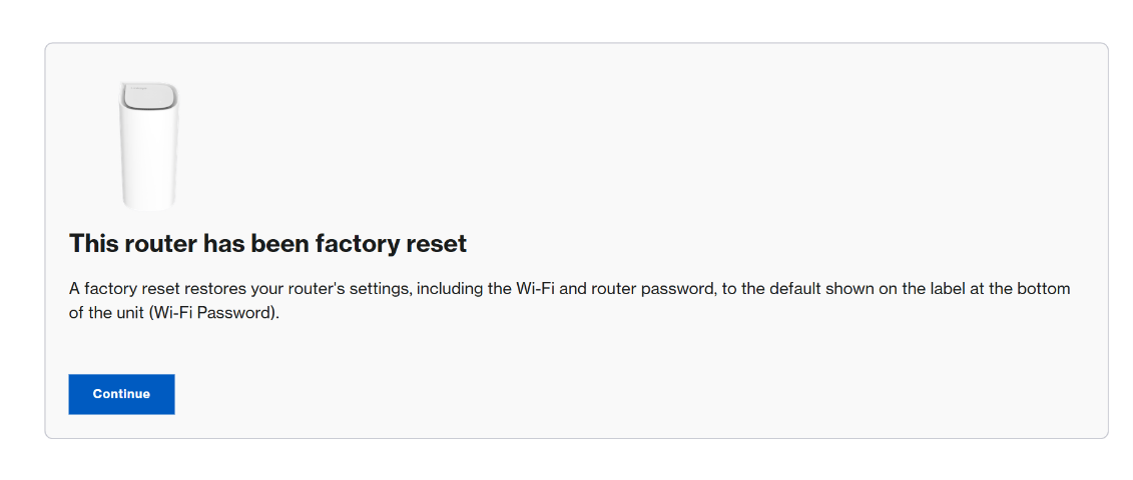
7. Open a desktop browser and go to https://192.168.1.1. Click Continue.
If you get the following browser message, learn how to bypass this message.
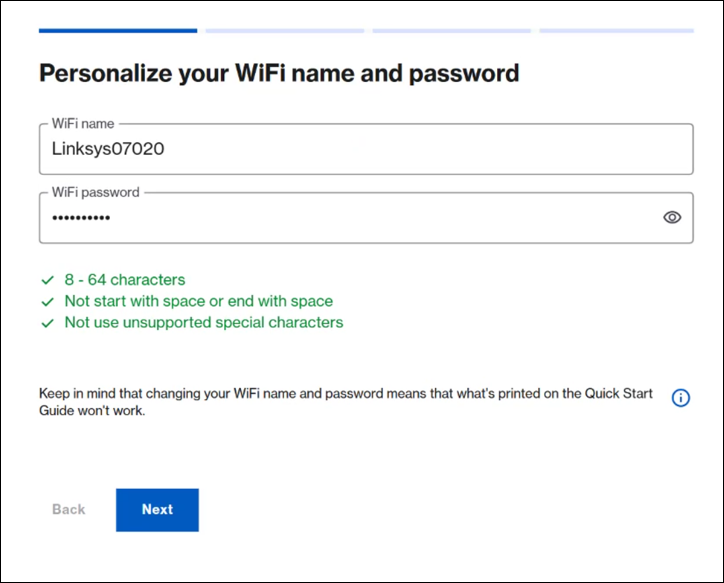
8. Customize your WiFi name and WiFi password. Click Next.
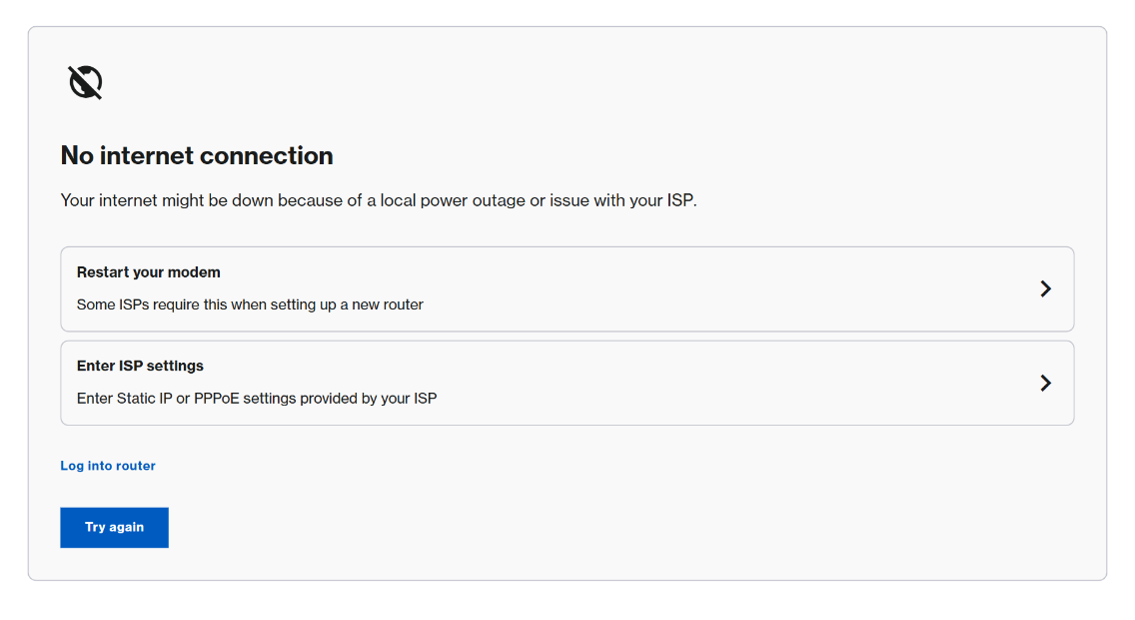
If you get the following message, make sure your router is connected to your ISP’s modem. Power cycle your modem and router and try again. If you are still unable to get online, contact your ISP. To bypass the setup wizard, click on Log into router.
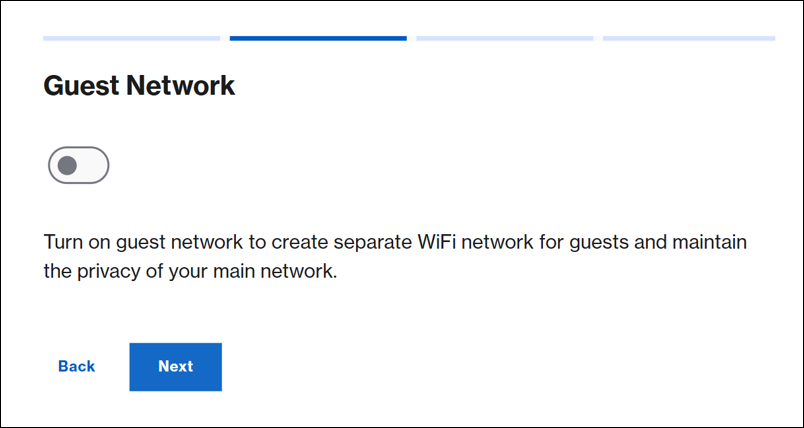
9. Enable the guest network if needed, and click Next.
10. Enable the night mode feature if needed. You can always configure this setting later.
Night mode will automatically turn off the router’s light between 8 pm and 8 am.

Wait for the settings to be saved. You will temporarily lose WiFi connection while settings are being saved.
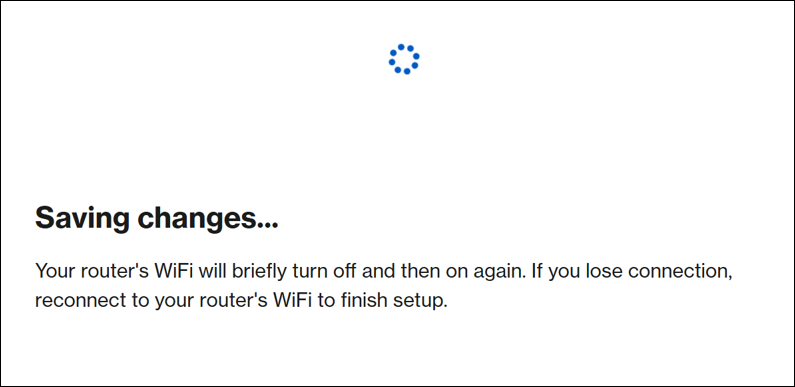
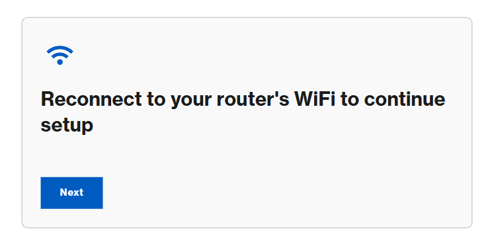
11. Connect to your new WiFi name when prompted to continue setup. Then click Next.
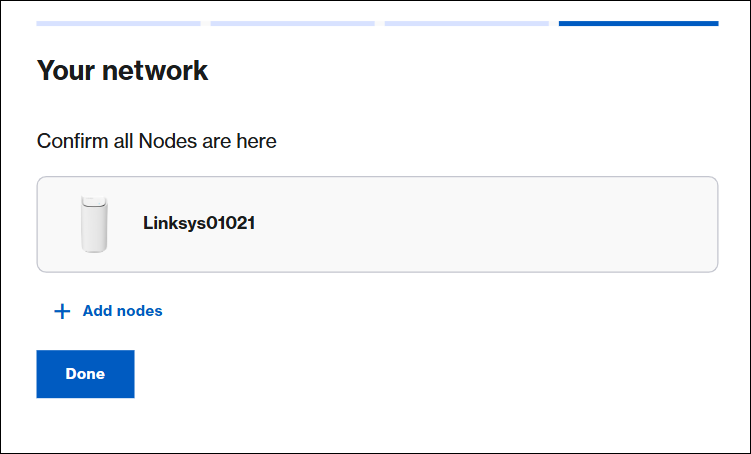
12. If you have child nodes to add, click Add Nodes and follow the steps provided. You can also add nodes at any time after setup. Click Done.
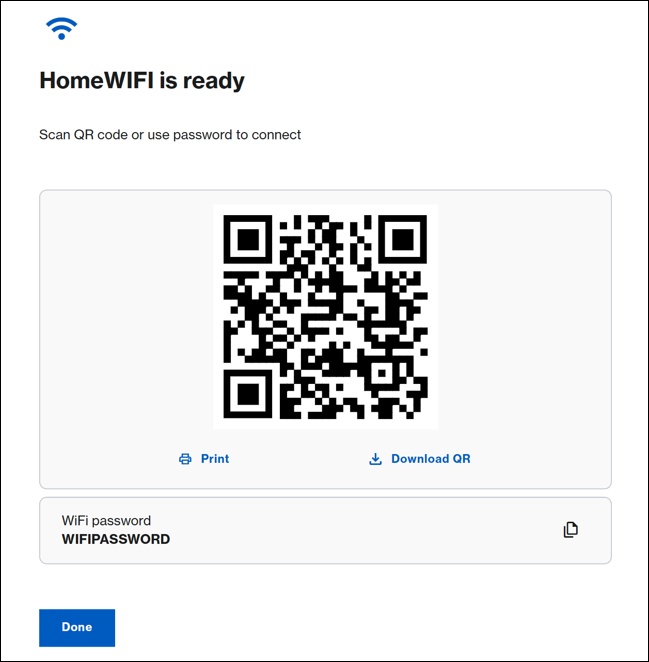
13. Write down the WiFi credentials, print or download the QR code to connect other devices. Click Done.
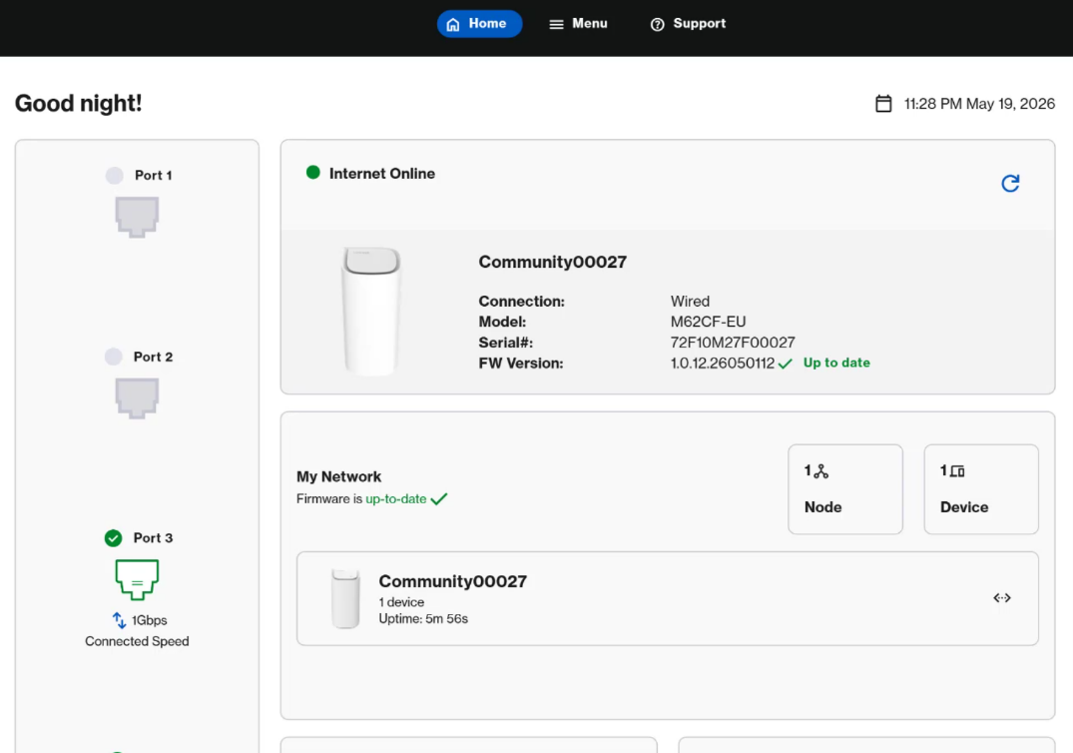
14. You will now land on the router’s dashboard.
NOTE: The default router’s admin password is the same as the default WiFi password. To change it, go to Menu > Instant-Admin.