


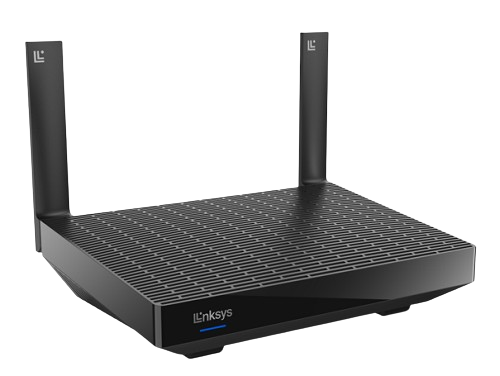
Say Hello to the Linksys MR20EC
The Linksys MR20EC uses Intelligent Mesh™ and provides ultra-fast Wi-Fi® 6 technology to keep your connection strong.
- AX3000 Dual-Band
- Intelligent Mesh technology
- 802.11ax
- 2x2 spatial streams
- Guest network
- WiFi security
- Parental Controls
- Covers up to 2,000 sq ft
- Supports parent and child mode
- Wall mountable
- Dimensions: 8.46 x 6.10 x 2.20 in (215 x 155 x 56 mm)
- Weight: 1.51 lb (687 g)
- Buttons and Switch
- Wi-Fi Protected Setup™ (WPS) button
- Reset button
- Power switch (rocker style)
- Antennas
- Two external dual-band 2.4 GHz/5 GHz antennas
- Ports
- Four Gigabit ethernet (LAN) ports
- One Gigabit internet (WAN) port
- Power port (12V, 1.5A)
- Parent node supports one USB 3.0 port for external hard drives only.
- The supported formats are as follows:
- Supports NTFS, FAT32, FAT, and HFS+
- Supports up to 900mA current draw
- The supported formats are as follows:
- An active internet connection
- A desktop computer to set up and manage the router settings
- Linksys MR20EC
- Quick start guide
- Ethernet cable
- Power adapter
- Regulatory and warranty documentation
The hardware version is located beside or beneath the model number and is labeled version, ver., or V. If there is no version number beside the model number on your Linksys product, the device is version 1. If you still have trouble finding your version number, see the complete article to learn more.
To set up the router, follow these instructions.
Are you still having trouble setting up your router? Click More for additional help.
1. Log in to the router's web interface.
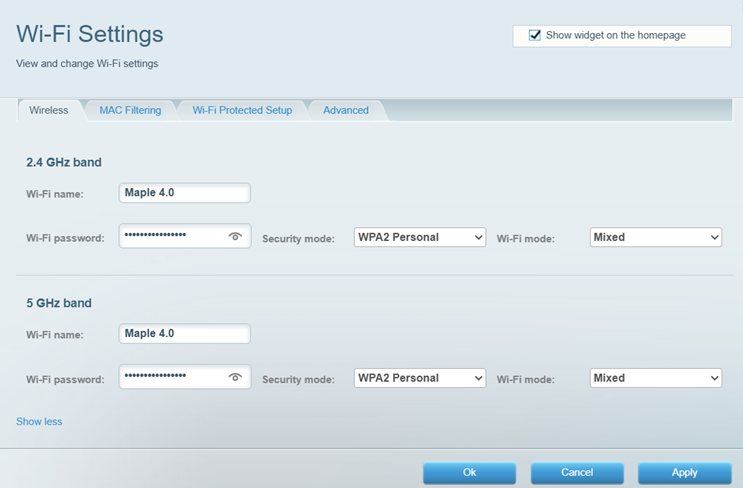
2. Navigate to Wi-Fi Settings.
3. Select the fields you want to change, click Apply, and then confirm by clicking Ok.
Click Show more to view the 5 GHz band settings.
1. Press and hold the Reset button at the bottom of the device.
The light at the front of the router will flash bright red, pulse dimly three times, flash bright red again, and then turn OFF. You can release the reset button after this process, which takes 10-20 seconds.
2. Wait for the light to turn solid purple, indicating it is ready to be set up.
Select each category below to view the articles.

