


This article will guide you in adding more Linksys MR20WH child nodes to expand your WiFi network.
Before you begin:
- You will need a computer.
- The parent router must be online and fully configured. Follow these instructions to set up the parent router.
- Parent router - The Linksys router that will connect to your modem.
- Child node - The additional Linksys Velop Mesh node that will extend your WiFi network.
1. Connect a computer to the WiFi name of your Linksys network.
2. Place the child node within 10 feet of the parent router and turn it ON. During setup, it's best to keep the child node close to the parent; you can relocate it afterward. If you're powering multiple nodes, start by positioning them near the parent router and then arrange them as needed later.
3. Make sure the new child node is ready for setup.
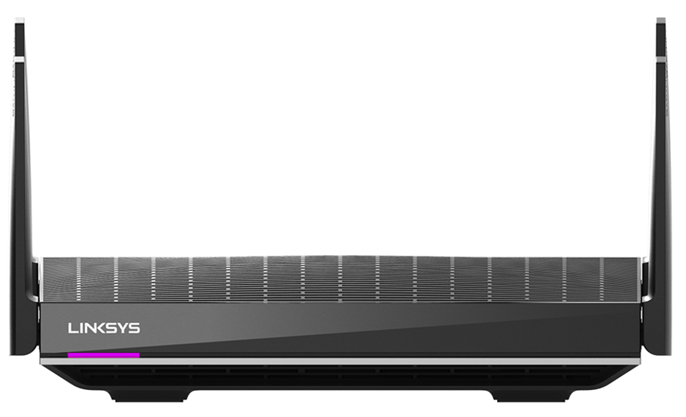
Purple light - Ready for setup
The light on the device will be solid purple, depending on the specific model being used.
4. Access the router's web interface.
If you receive any security browser error messages, follow these steps to continue.
5. Enter the router password when prompted. If you've forgotten the password, click Reset password to create a new one.
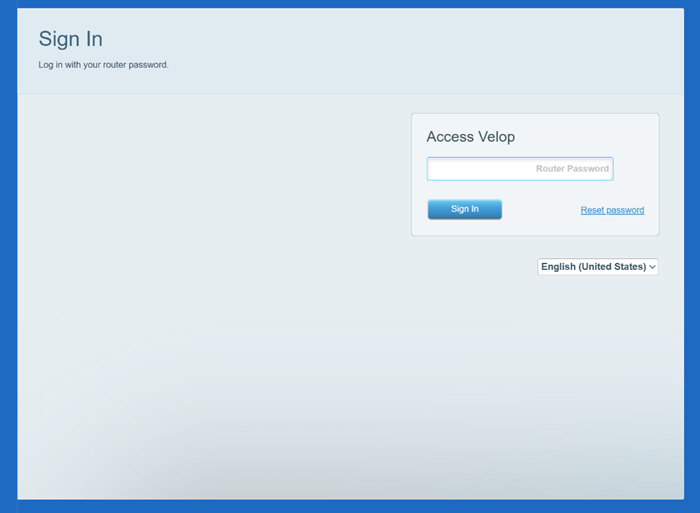
6. After accessing the dashboard, click on the CA link at the bottom of the screen. If you do not have a CA link, proceed to step 7.

7. Click on Connectivity and select the CA Router Setup tab.
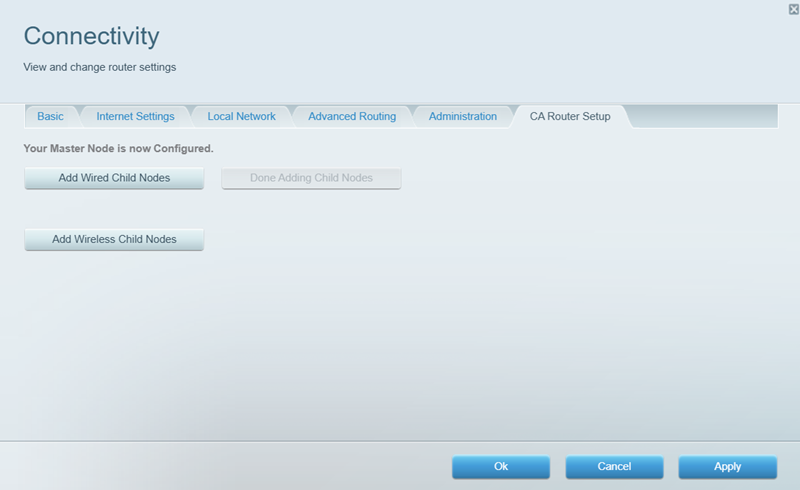
8. Click on Add Wireless Child Nodes. The router will begin to scan for unconfigured nodes.
9. After detecting the child nodes, their lights will start blinking. When the nodes are successfully added to your network, their lights will display a solid blue color. Click Done Adding Child Nodes and then adjust the child nodes' placement as needed.
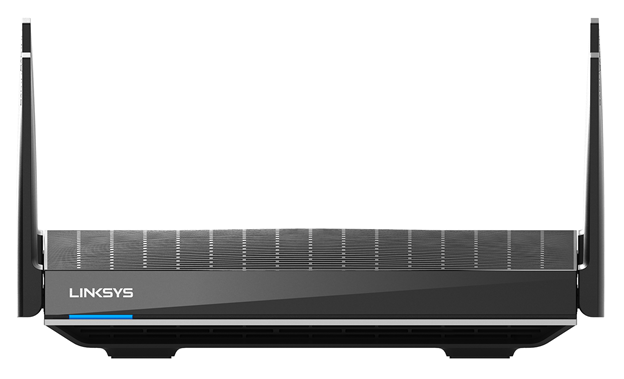
The child node has been successfully added to the network.

