

Configuring the USB storage settings of the Linksys E9450

This article provides an overview of the External Storage settings of the Linksys E9450 WiFi 6 Router.
This article is for Linksys E9450-AH, E9450-CN, E9450-JP, and E9450-KR.
This article is for Linksys E9450-AH, E9450-CN, E9450-JP, and E9450-KR.
2. Click on Advanced Setup > External Storage.
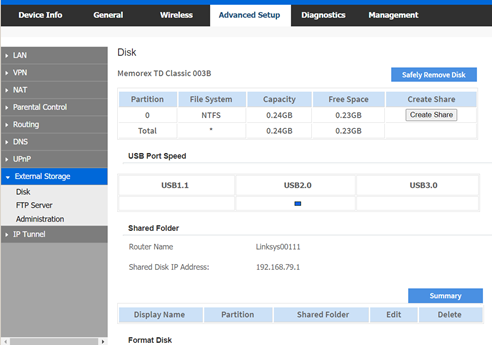
The table below shows the settings that can be configured under External Storage.
|
Feature
|
Description
|
|
Disk
|
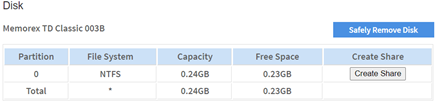
When a USB drive is detected, it will display the drive’s system and space information.
 |
|
USB Port Speed
|
The column of the USB Port Speed will populate based on the drive type you have connected to the router’s USB port.
 The USB port supports up to 900 mA. It does not support external drives with external power sources.
|
|
Create Share
|
Click this option to create a Share on the drive.
|
|
Safely Remove Disk
|
Before disconnecting a USB drive from the router, click on Safely Remove Disk. This prevents the possible loss of data, which may occur if you remove the USB drive while it is transferring data. |
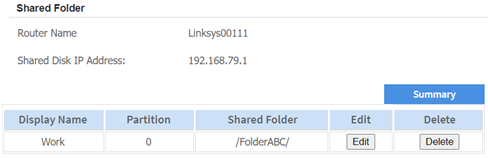
| Shared Folder |
The device name of the router is displayed in the Router Name section. You can always change this name by going to Configuration > Local Network settings in the router's web interface.
The IP address of the disk is displayed in the Shared Disk IP Address section.  |
|
Shared List
|
If you have created any shares, they will be displayed in the table.
 Edit: Click this to change the access settings of a shared folder. Delete: Click this to delete a shared folder. Summary: Click this to view a list of shared folders.
|
| Format Disk | Click this to format the drive. All data in the drive will be deleted. |
| Refresh | Click to refresh the External Storage page. |
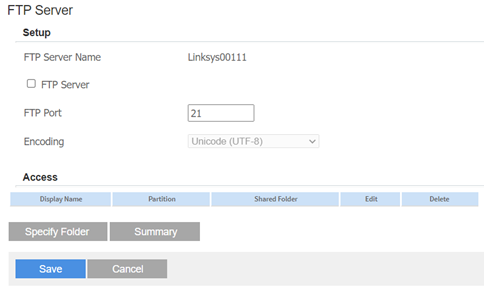
| FTP Server | To enable the FTP server feature, check the FTP Server checkbox, select a folder, and then click Save. |
| Administration |
The default admin password for the USB feature is admin, even if you change the router’s password. To change the password, click on Edit and make your changes. |

Before you begin: To grant permissions to specific users, you must create users and groups on the Administration page.
1. Access the web interface of the Linksys E9450.


2. Go to Configuration > External Storage > Create Share.
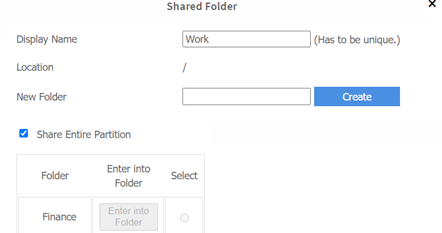
3. Create a name for your share.
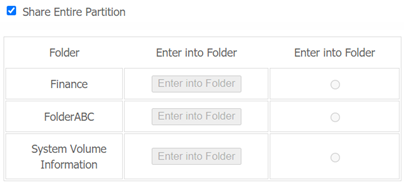
4. Decide if you want to share the entire drive, create a folder, or select an existing folder in your drive.
- If you intend to share the entire drive, ensure that the Share Entire Partition option is checked.
-
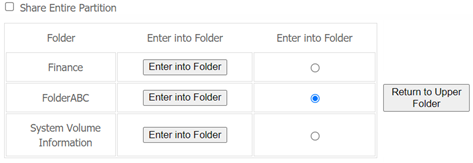
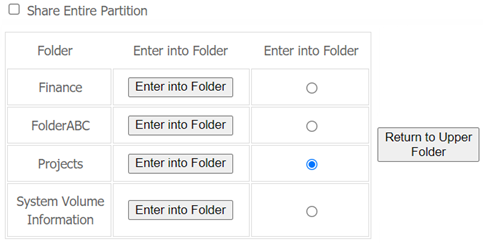
If you create a folder, enter a new folder name, and click Create. Uncheck the Share Entire Partition checkbox and select the folder you just created.


- If you want to select an existing folder, navigate into the folder by unchecking the Share Entire Partition checkbox and clicking on the button next to Enter into Folder.
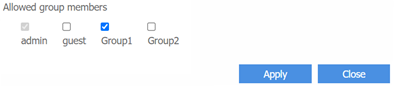
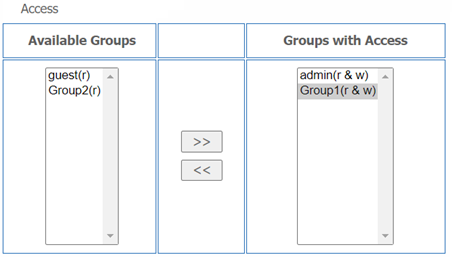
5. Now, select the groups that should have access to the content you are about to share and click Apply.
By default, the admin has access to any content on the drive. If you haven’t created a group, go to the Administration section to create users and assign them to a group.
By default, the admin has access to any content on the drive. If you haven’t created a group, go to the Administration section to create users and assign them to a group.
Your share has now been created.
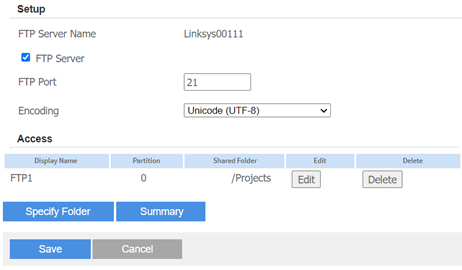
How to configure the FTP server
1. Access the web interface of the Linksys E9450.
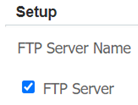
3. Enable the FTP Server feature.
2. Click on Configuration > External Storage > FTP Server.
3. Enable the FTP Server feature.
4. Click Specify Folder.
5. In the Display Name field, enter a new name for your FTP folder.

If the Partition is showing as --, click on Enter into Folder.
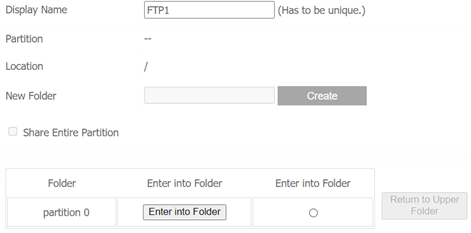
6. Decide if you want to create a folder, share the entire partition, or select an existing folder.
- To share the entire partition, just check the Share Entire Partition box.
- To select an existing folder, navigate to the drive and select the folder.
- To create a folder, enter a new name in the New Folder section and click Create. Then select the new folder.
8. Make sure to click Save to apply all your settings.
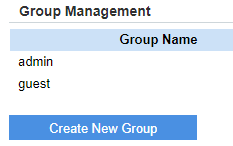
How to create users and groups
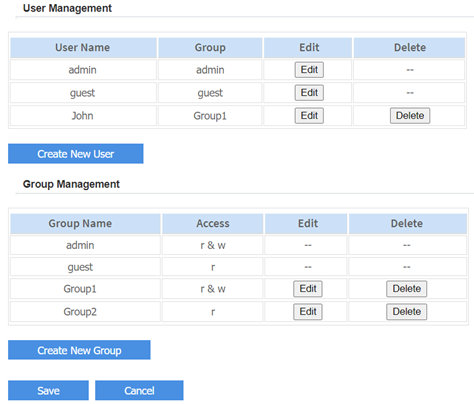
2. Go to Advanced Setup > External Storage > Administration.
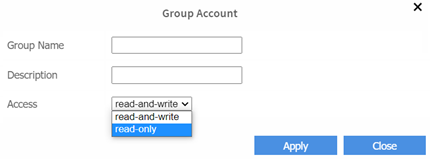
3. If you need to assign users to a group, create a group first. Otherwise, skip to Step 5. Click Create New Group.
3. If you need to assign users to a group, create a group first. Otherwise, skip to Step 5. Click Create New Group.
4. Give your group a name, description, and choose either read-and-write or read-only. Then, click Apply. Create additional groups as needed. Click Save.
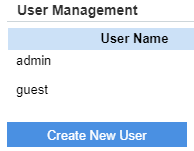
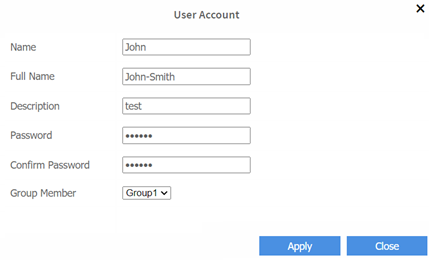
5. Click on Create New User.
6. Update your User Account details and click Apply once done.
By default, the password is admin.
By default, the password is admin.
7. Make sure to click on Save at the bottom of the page to save all changes.
You have now created users and groups.

